
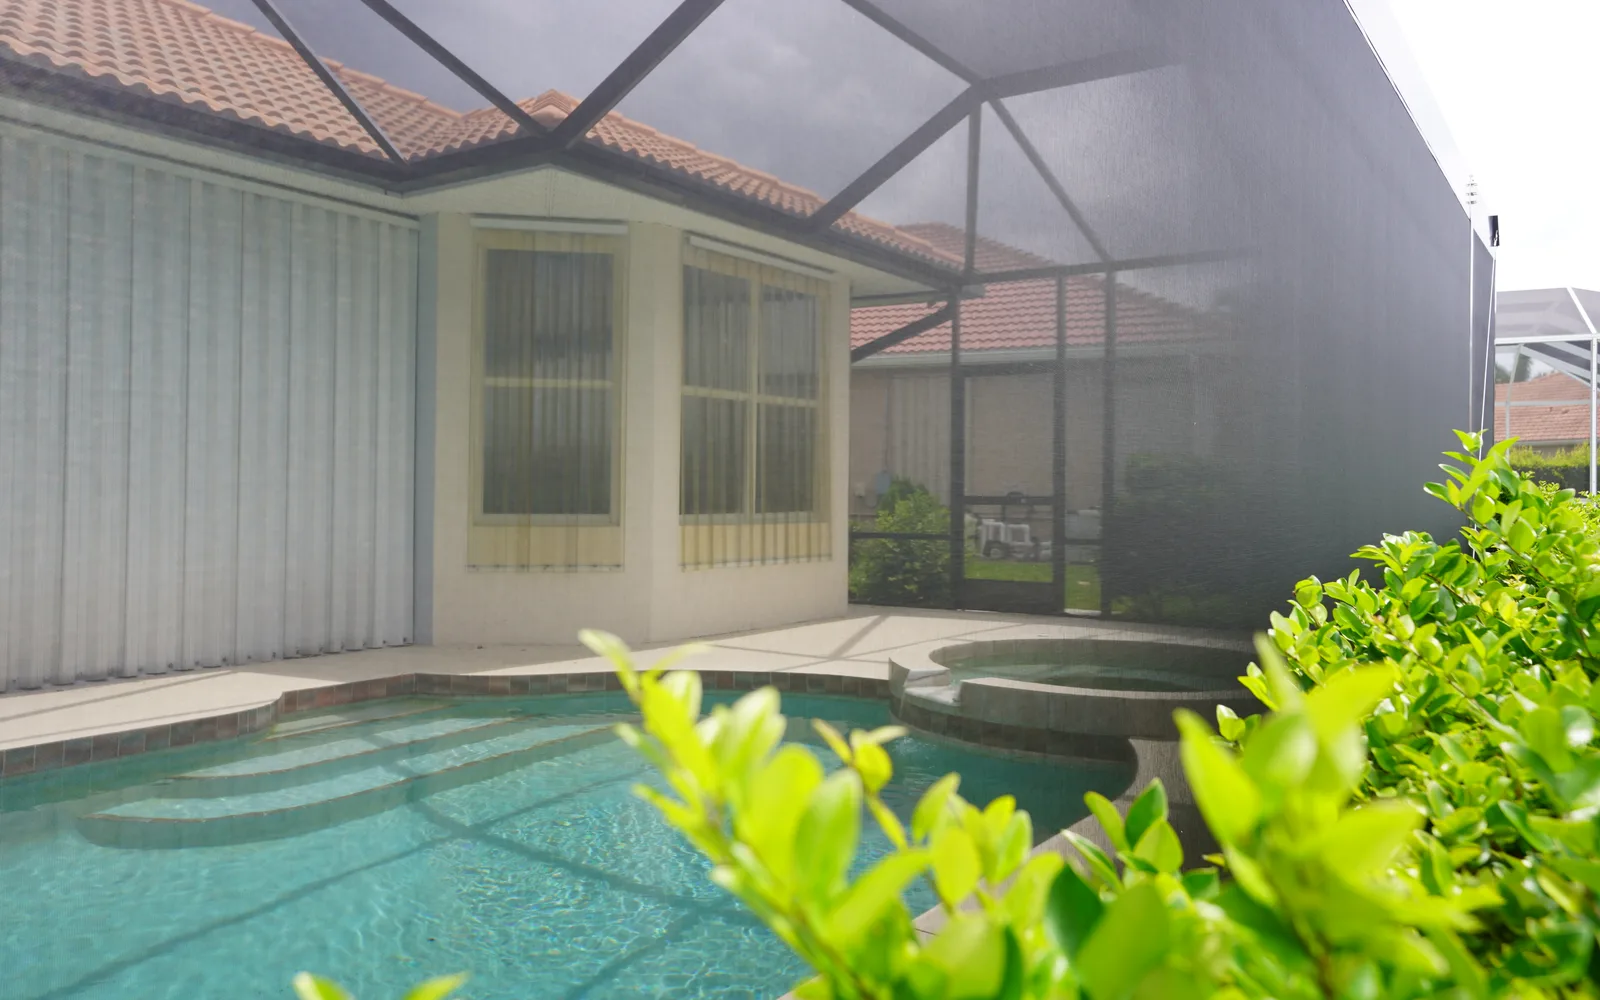
Quick Answer: how to replace a pool cage screen panel is a straightforward DIY repair for many homeowners, but the job goes best when you match the existing screen type, remove the old spline carefully, and reinstall the new panel with even tension so the frame stays neat and secure. In Florida’s Gulf Coast climate, the process is especially useful after sun damage, storm debris, or small tears start to spread. If you’re unsure whether the frame itself is bent or corroded, it may be smarter to have a screen enclosure contractor north port fl evaluate the enclosure before you begin.
When a Screen Panel Needs Replacement
A single damaged panel does not always mean the whole pool cage needs work. In many cases, the issue is limited to one screen section that has torn, loosened at the spline, or become brittle from UV exposure. Common signs include frayed edges, holes that keep growing, screen pulling away from the frame, or sections that flap in the wind.
On the Gulf Coast, salt air, strong sun, and frequent weather swings can shorten the life of screen materials. Even if the damage looks minor, a loose panel can let in insects, debris, and small animals. If the screen has pulled out because the frame is bent, a simple replacement may not solve the problem. You want to look closely at the aluminum members, the corners, and the spline channel before deciding on the repair.
If the panel came loose after a storm, it is also wise to consider whether there is broader enclosure damage. For homeowners thinking about storm readiness, this can a pool cage withstand a hurricane guide can help frame the bigger picture, but any structural concerns should be assessed by a qualified professional.
Tools and Materials You Will Need
Before starting, gather the right tools so you can work cleanly and avoid damaging the frame. Typical supplies include replacement screen material, spline that matches the existing channel size, a spline roller, a utility knife or sharp trim knife, and a flat tool for lifting old spline if needed. A tape measure, scissors, and a step stool or ladder may also be helpful for larger panels.
Choosing the right screen matters. Pool cages may use standard fiberglass screen, heavier-duty screen, or specialty mesh depending on the enclosure and the homeowner’s goals. If you are replacing only one panel, try to match the material as closely as possible to the surrounding screens so the finish looks consistent. Keep in mind that different screen types stretch differently, so the installation feel can vary.
It also helps to work on a calm day. Wind can make the screen harder to position and can introduce dirt into the channel while you work. If the panel is large or overhead, a second set of hands can make the job easier and reduce the chance of wrinkles.
Step-by-Step: How to Replace a Pool Cage Screen Panel
Start by inspecting the damaged panel and the frame around it. If the aluminum is intact, the repair is likely manageable. If the frame is warped, cracked, or heavily corroded, replacement of the screen alone may not hold up well.
-
Remove the old spline and screen. Use a flat tool or the tip of your roller to lift one end of the spline out of the channel. Once you get a section loose, pull the spline out slowly. After the spline is removed, take out the old screen. If the panel is brittle, it may come out in pieces, which is normal.
-
Clean the channel. Brush out dirt, old fragments, and debris from the groove where the spline sits. A clean channel helps the new spline seat properly and gives the panel a tighter finish.
-
Cut the new screen generously. Lay the replacement screen over the opening with extra material on all sides. You want enough overlap to hold comfortably while you work. Avoid cutting it too close before the panel is secured.
-
Start the spline on one side. Use the spline roller to press the screen and spline into the channel. A common approach is to begin on one side, then move to the opposite side, and finally finish the remaining edges. This helps keep the screen centered and evenly tensioned.
-
Keep the screen taut, but not overstretched. The goal is a smooth, even surface without puckers or sagging. Pulling too hard can distort the mesh or make the final panel look uneven. Work gradually and check alignment as you go.
-
Trim the excess. After the spline is fully seated, cut the extra screen away with a sharp knife. Take your time near the frame so you do not nick the new panel or score the aluminum.
-
Inspect the finished panel. Look for loose corners, visible gaps, or wavy edges. Press gently on the screen to confirm the spline is seated uniformly. If the panel looks loose, you may need to reset part of the spline and tighten the screen again.
For taller or hard-to-reach openings, do not stretch beyond your comfort level. Pool cage repairs often involve ladders and overhead work, and safety should come first.
Common Mistakes to Avoid
One of the biggest mistakes is using the wrong spline size. If the spline is too small, the screen may slip out later. If it is too large, installation becomes difficult and may damage the frame or the mesh. Another frequent issue is cutting the screen too short before everything is seated. Once that happens, the panel can be hard to save.
Uneven tension is another problem. If one side is pulled far tighter than the other, the screen may look crooked or buckle over time. It is better to make small adjustments as you go than to force the entire panel into place at once.
Homeowners should also avoid assuming every tear is just a screen issue. If the frame is bent, the fasteners are loose, or the enclosure has signs of widespread wear, replacing one panel may be only a temporary fix. Likewise, if the enclosure includes gutters, soffit, fascia, or related components that are damaged, the repair may need a broader look.
Cost Factors and When to Call a Pro
The cost of replacing a pool cage screen panel depends on several site-specific factors: the size of the opening, the type of screen material, how accessible the panel is, whether the frame is in good condition, and whether the repair involves only one section or several. Labor can also change based on whether the panel is ground-level or requires specialized access.
Because every enclosure is different, the best way to understand cost is to request a written estimate based on the actual site conditions. That estimate should reflect the screen type, scope of work, and any additional repairs that become visible during inspection. Avoid guessing based on averages, since a simple patch and a full-panel replacement are not the same job.
If you notice damage beyond the screen itself, especially after storms or repeated wear, ask a qualified enclosure professional to inspect the frame before spending time on a repair that may not last.
Final Thoughts
Replacing a pool cage screen panel is often one of the most practical maintenance tasks a homeowner can handle, especially when the damage is limited to one section and the frame remains sound. The key is patience: remove the old material carefully, match the spline correctly, and keep the new screen evenly tensioned as you work.
For Florida Gulf Coast homeowners, regular inspection matters because sun, salt, wind, and seasonal storms can all wear on screen enclosures. If the damage seems larger than a simple panel replacement, or if the frame is out of alignment, it is better to pause and get a professional opinion. A careful repair now can help the enclosure stay cleaner, look better, and function the way it should.